Creating an App Promo Video with Keynote
Only basic video editing skills required!
Jul 27, 2020 · 2 min read
Introduction
Even though promo video is not required for Google Play Store listing, it is highly recommended. Especially for games.
Having a promo video can lead to more people discovering, understanding, and installing your app.
Recently, I created a promo video for my health journal app. It took me one day and required only basic video editing skills. This is the end result:
How-to
Here are the steps that I went through.
1. Choose a Device Frame
The device frame is an image that will wrap the video.
For my promo video, I used a Pixel 3 Device Frame from https://facebook.design/devices.
2. Record App Interaction Video
I recorded the video with Android Studio Logcat.
To get a clean status bar, enabling the System UI Demo Mode through Developer Options did the trick.
The video was recorded on a Pixel 3 Emulator.
My recording strategy was to record several shorter videos and then use QuickTime Player to merge/split/trim recorded sections into one video for the presentation.
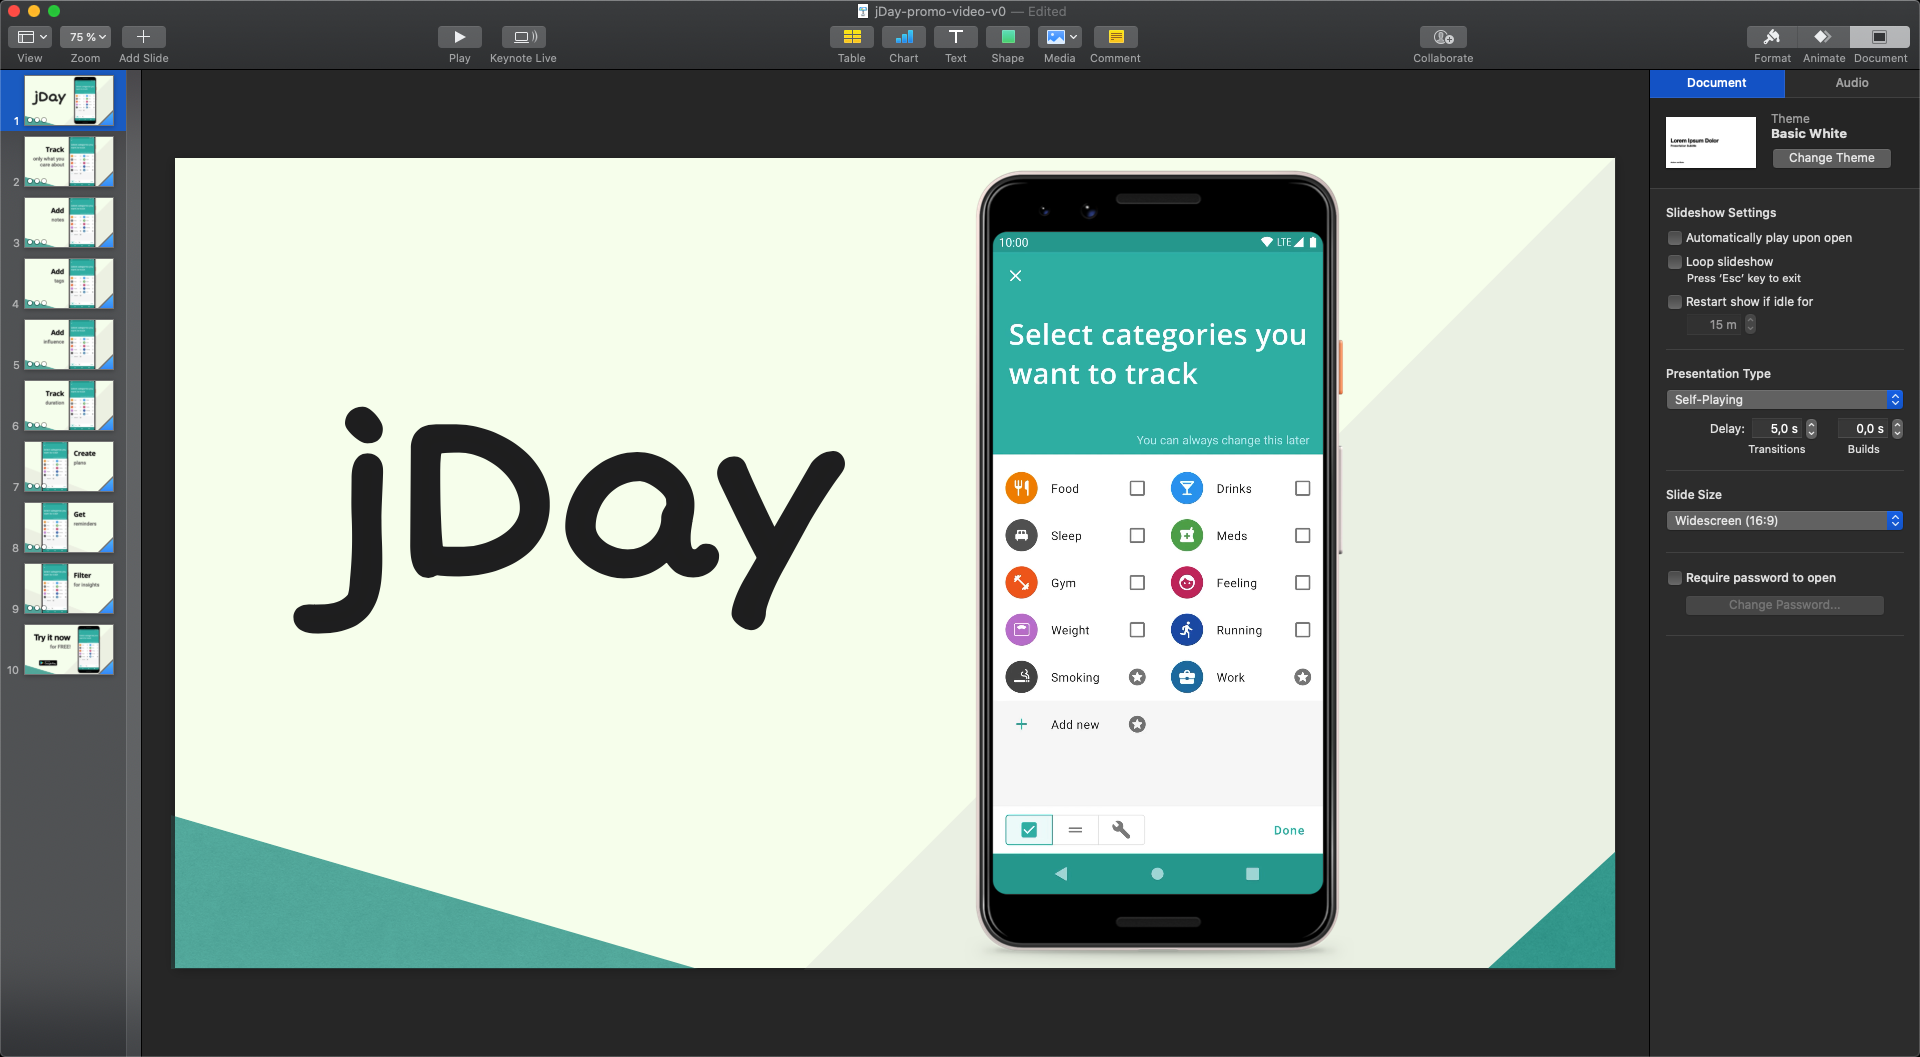
3. Create a Presentation
I used Keynote to create a slideshow presentation that can be exported as a video.
I got this idea thanks to Christoph's blog post.
Keynote features that I used to create the first slide:
- Triangle shapes:
Insert → Shape → Triangle - Y-axis positioning of elements (video, device frame, triangles, etc.):
Right Click → Send to Back - Scale Up animation of device frame/video:
Animate → Build In → Add an Effect → Scale - Magic Move animation for slide transitions:
Animate → Add an Effect → Magic Move: By Object, Start Transition Automatically
For the next slides, I would always just duplicate the previous and adjust text, device position, slide transition delay, etc.
I also changed the presentation type to Self-Playing Document → Presentation Type → Self-Playing
and set Delay: Builds to 0,0s. This enabled each slide to fully control its transition delay and sync itself to the video.
4. Add an Audio Track
I used the
YouTube Audio Library
to find a track that doesn't require attribution.
Then I just added it to Keynote Document → Audio → +.
To make sure that audio won't distract the viewer from the video,
I used the Audio Volume SeekBar control to reduce the volume.
5. Export the Video
With slides and audio done, the last step was to save the presentation as a video File → Export To → Movie...
and upload it to YouTube.
Conclusion
Creating a promo video was easier than I expected. I used Keynote as the main tool but my guess is that Microsoft PowerPoint or Google Slides could produce a similar result. The main requirement from the tool would be that it can export the presentation as a video.
Please feel free to reach out if you have any questions or comments.
Here's how I created a #GooglePlayStore promo video with Keynote 👇 #ASO #AndroidDev https://t.co/D0pXwenZl1
— Josip Žemberi (@JosipZemberi) July 27, 2020